


Welcome to a potpourri of fun! On this page you’ll find the latest comics by Jari Thymian, a motivational quote, a crossword puzzle contest, and whatever else we decide to throw in here. Be sure to check back for the latest!
- Earth Corner – With Pat Walsh
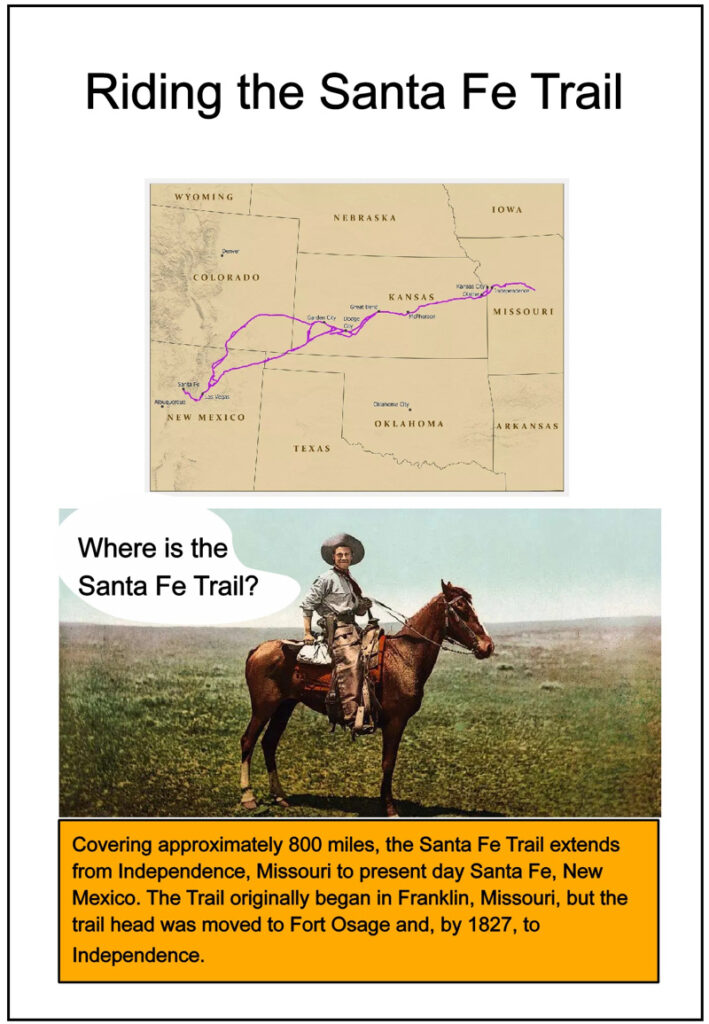
- Riding the Santa Fe Trail – by Laura Brewer
- Every Day Should be Earth Day – Editorial by Laura Brewer
- Frank Mahannah – Gallery
- Madi’s Kitchen
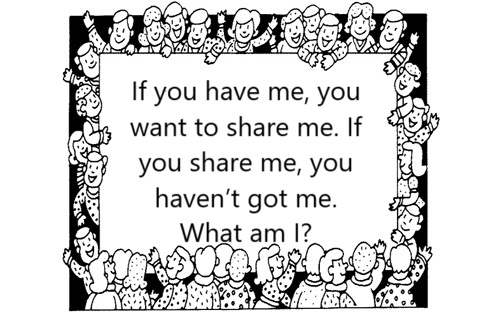
- Quotes & Riddles
Quotes & Riddles


Earth Corner – With Pat Walsh
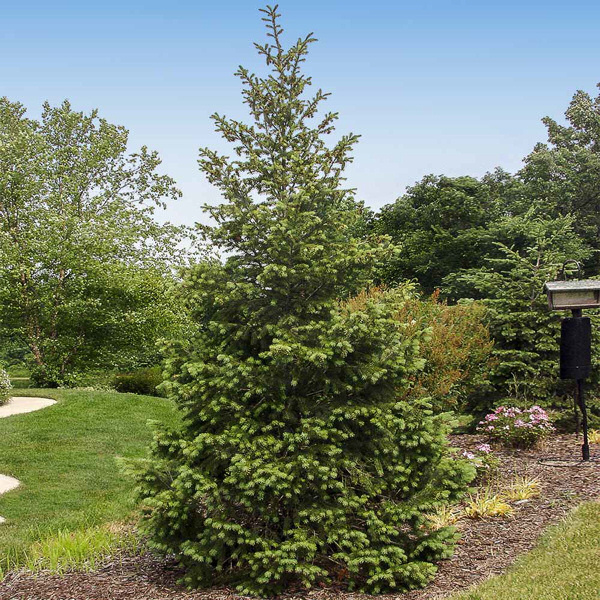
Trees, Our Urban Forest
Posted October 4, 2024
The whine of a chainsaw haunted me as I wrote these words.
Workers were cutting down a big old evergreen at a nearby house. The sister of that tree was cut down perhaps a month ago. The person who lives there told us the trees were sick, but they looked thick and green to me. And now they are gone.
Perhaps the trees, which appeared to be very old, were sick. But the thought that keeps going through my mind is something a friend said years ago, that Raton is a dangerous place to be a tree.
For example, last year another nearby resident had a beautiful deciduous tree “topped.” This is something I’ve seen often in Raton.
Town trees are considered part of an “urban forest,” and years ago my guy and I were part of a tree-planting effort in downtown Raton. We went through a tree training provided in Santa Fe by the New Mexico Forestry Division, under their Forest ReLeaf Program to add trees in N.M. communities.
One of the guidelines they gave us was to never “top” a tree.
Some Raton residents worry that when a tree gets big, a large branch will fall and damage their home. But it turns out that “topping” a tree only makes it more likely that the new spindly branches will fall. Turns out the bigger, original branches are more stable.
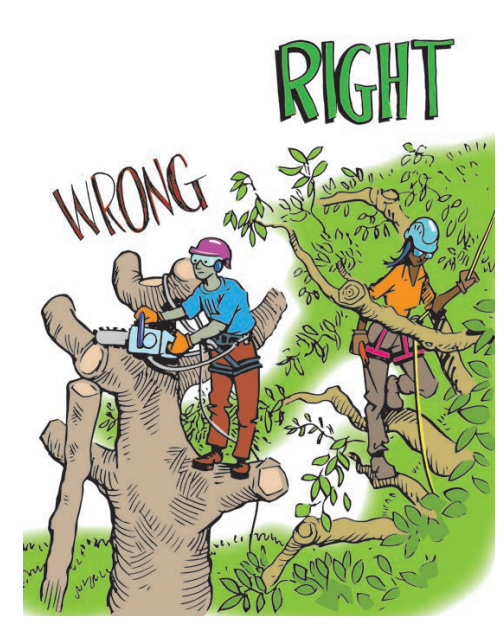
The Arbor Day Foundation quotes a tree expert as saying, “Topping is the absolute worst thing you can do for the health of your tree.” FTC8_1.pdf (arborday.org)
In its Tree City USA Bulletin Number Eight, the Arbor Day Foundation goes on to state that “in most cases, topping just contributes to greater danger from the resulting proliferation of weakly attached sprouts and the entrance of decay fungi.”
We’ve learned other things about trees in recent years. For example, forestry ecologist Suzanne Simard has long researched forests. She writes that forest trees actually communicate with each other, according to her memoir Finding the Mother Tree: Discovering the Wisdom of the Forest.
How do they do this? According to a story in NPR, Simard explained forest trees are linked by an underground fungi network. In one study, a tree being injured by insects appeared to send out chemical warnings to another nearby tree, which then produced enzymes to ward off the insects.
Meanwhile, we also know that trees are a “carbon sink.” That means they pull carbon dioxide out of the air and hold onto the carbon, while releasing the oxygen—lucky for us! As such, planting trees can help mitigate human-caused climate change.
Of course, trees also give us lumber to build homes and wood for our fireplaces. And at my house, we ourselves have had to cut ailing trees.
Still, before the workers began cutting the big old evergreen, I had a chance to pass by and touch one of its branches. I said thank you.
Editor’s note: Download a pdf on “Why Topping Hurts Trees“
Help our Earth – Editorial by Laura Brewer
Every day should be Earth Day, but officially we celebrate in the U.S. on Monday, April 22, 2024. Below is a graphic of some of the things one can do to help our Earth.
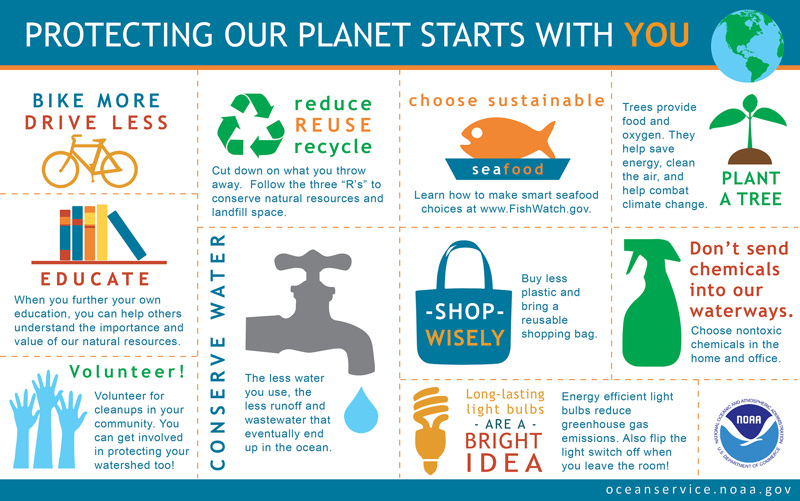
Posted September 27, 2024 – Provided by Laura Brewer
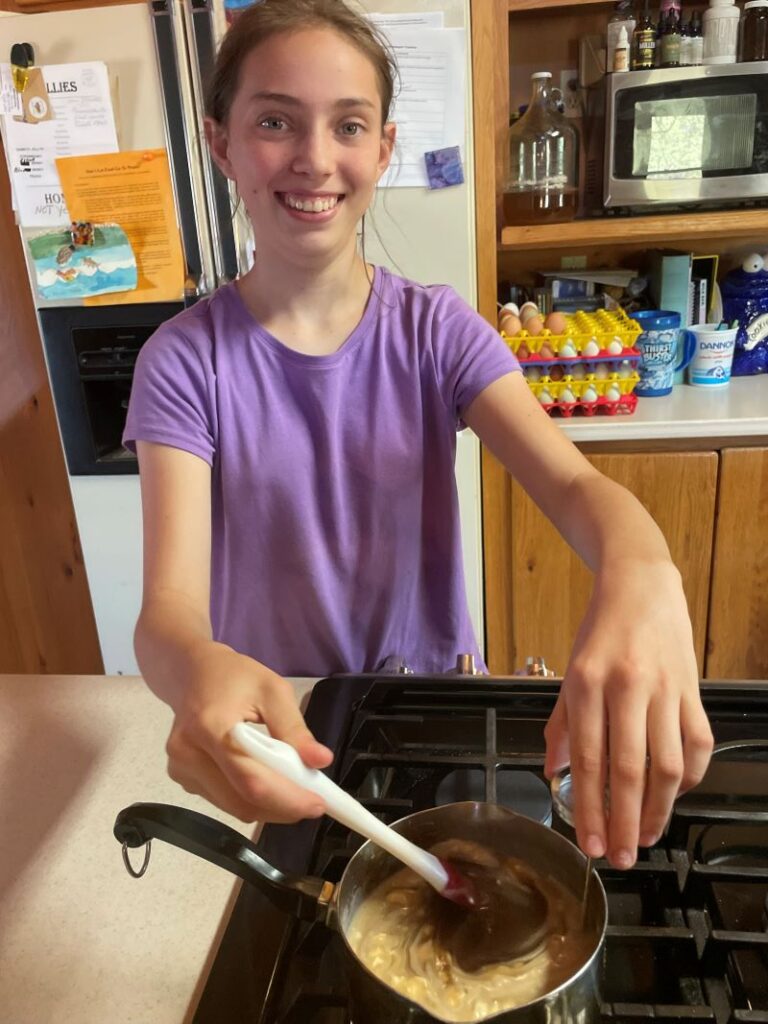
Madi’s Kitchen
Madi’s Kitchen is a delightful addition to our Potpourri page. Each week our young chef will provide a recipe that she has developed that has been tested on her friends and family.
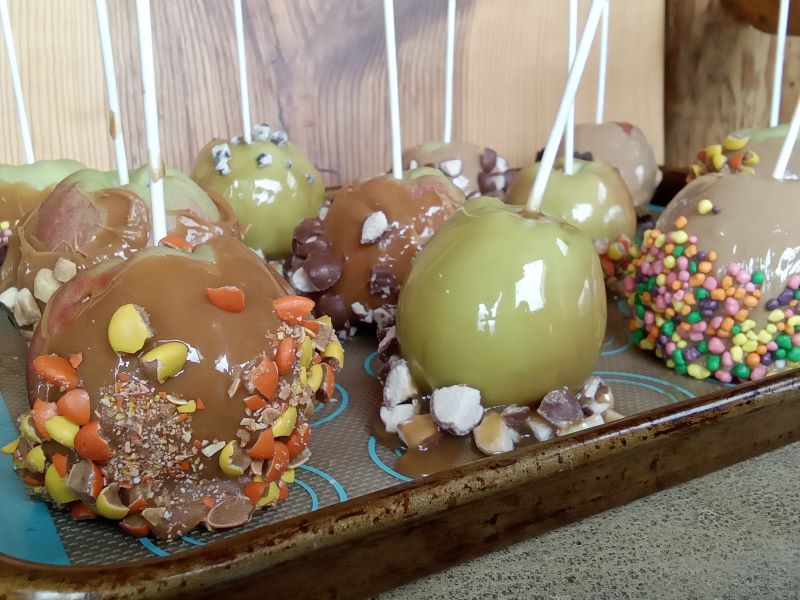
The Sweet World of Caramel Apples
Posted September 28, 2028
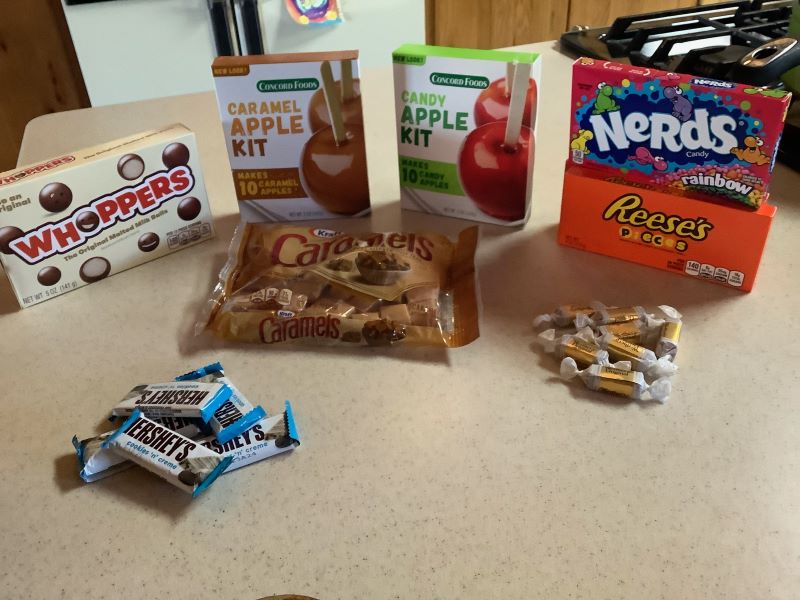
Halloween is right around the corner, and I love making costumes and handing out candy–but I particularly love that it’s the perfect time to whip up some caramel apples! These treats are a classic fall favorite, combining the crispness of fresh apples with the sticky sweetness of caramel. Plus, you can deck them out with all sorts of toppings—think crushed nuts, sprinkles, or even chocolate drizzle! I tested out three ways to make the caramel to see what works best, so you don’t have to do the leg work on it.
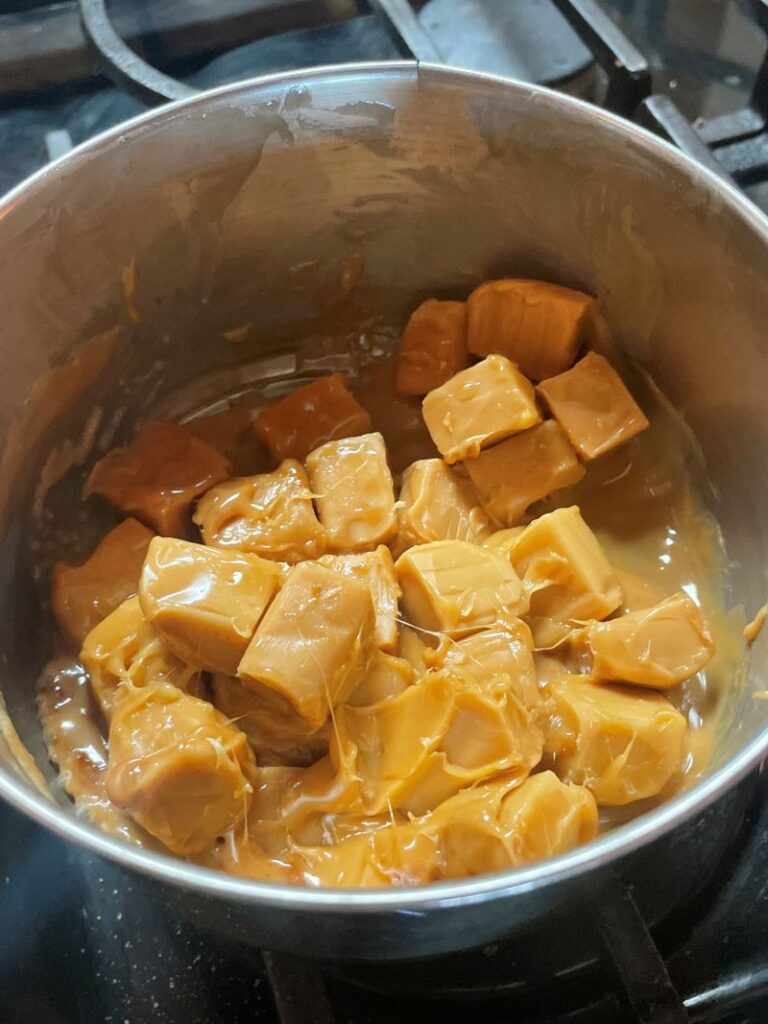
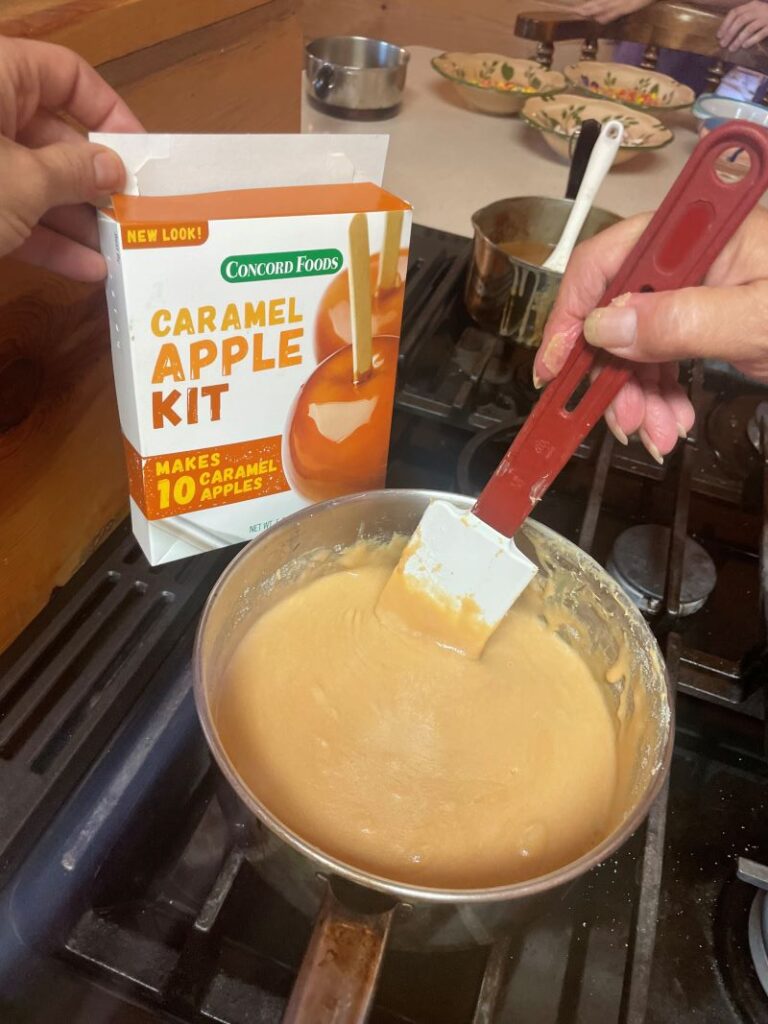
First my Nana and I tried a caramel apple kit from the grocery store. I also tried melting down some candy caramels, and I made my own caramel from scratch. All turned out ok, but the one I think turned out the best was the melted caramel. The store bought boxed caramel kit tended to be a little too hard and crisp. Making it was also kind of a pain! The dry ingredients got clumpy and cooked unevenly, with some spots burning before others cooked. The homemade one turned out a bit runny when dipping but it eventually cools well and is so delicious, it’s a solid, if messy option. However, if you’re just looking for a quick project, pre-made store-bought caramels, melted down over low heat, is a clasic choice! The caramel coating is sufficiently thick and dippable without needing a bunch of stirring and fussing.
Caramel has a rich history that’s super interesting. It started way back in 95 AD when Arab chefs began crystallizing sugar. It would take centuries for the key ingredient in caramel to really hit Europe large quantities–sugar! But by the 16th century, sugar was all the rage in Europe, and the word “caramel” popped up in English around 1725, coming from French and Spanish roots. Still sufficiently a novelty, those aristocrats would have servants shape sugar into cool designs that looked like everyday foods–candy eggs and bacon, or tiny fruits.
American settlers took it a step further by boiling sugar in copper kettles, which got super hot (sugar melts at about 270°F). The caramelization process starts at around 300°F, where sugar breaks down to create different textures and flavors. You can end up with chewy, runny, or hard caramel depending on how you cook it–what temperature and for how long, with how much stirring. At any stage, caramel quickly became a candy staple because it was easy to make at home and had a long shelf life. Between 1650 and 1800, some candy makers began experimenting with added fat and milk, leading to the chewy caramels we know today. By the mid-1800s, nearly 400 American manufacturers were making caramel candies!
One of the biggest names in the caramel world is Milton Hershey. Born in 1857 in Pennsylvania, he initially trained as a printer but discovered his love for candy-making at 14. After learning from a master candy maker, he started his own business, which didn’t go well at first. But after learning to make caramels in Denver, Colorado, he returned home to launch the Lancaster Caramel Company, which quickly gained popularity. Hershey’s company eventually became known for chocolate, with the iconic Hershey bar and various caramel-filled treats!
And here’s a fun tidbit: April 5 is National Caramel Day! Thankfully we dont have to wait til spring to celebrate this sweet treat! So, while you’re rocking your Halloween costume and testing out treats, don’t forget to whip up some delicious caramel apples this fall. Whether you grab a store-bought caramel kit, melt down some caramels, or go all out and make your own from scratch, it’s bound to be a fun time experimenting with toppings! Whether you like it classic or want to get creative, there’s no wrong way to enjoy caramel apples. So go ahead, make a batch, and savor every sweet bite of fall!
INGREDIENTS:
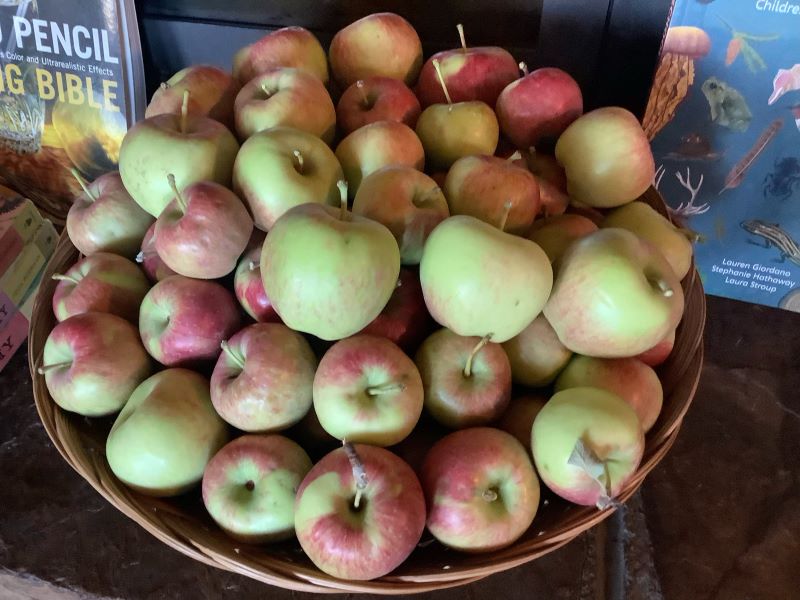
• 8–9 cold apples
• 1 and 3/4 cups heavy cream
• 1 cup light corn syrup
• 2 cups packed brown sugar
• 1/4 cup unsalted butter, at room temperature
• 1/2 teaspoon salt
• 1/2 teaspoon vanilla extract
INSTRUCTIONS:
1. Rinse the apples under cold water and wipe them dry to remove any waxy coating. Remove the stems and insert a caramel apple stick about 3/4 down into each apple.
2. Line a large baking sheet with a silicone baking mat. If unavailable, grease the pan with butter to prevent sticking.
3. In a 3-quart heavy-duty saucepan, combine the heavy cream, corn syrup, brown sugar, butter, and salt over medium heat. Stir constantly until the butter melts. If burning is a problem, you can brush down the sides of the pan with a wet pastry brush to prevent sugar crystals from forming. Attach a candy thermometer to the pan so it doesn’t touch the bottom, or it will read too hot.
4. Allow the mixture to cook without stirring until it reaches 235°F (113°C). This will take about 15-20 minutes. Monitor the temperature closely, as it will heat slowly at first and then rapidly.
5. Once it’s at the desired temperature–about 245F to 250F at our elevation, or right as the caramel bubbles up vigorously and begins to darken–you remove the caramel from heat and stir in the vanilla. Let the caramel cool for 10-15 minutes until it thickens slightly. If it’s too thin, let it cool longer–I had some issues with it warm, but found it a lot more workable after 15 minutes.
6. Holding the stick, dip each apple into the warm caramel, tilting the pot if needed to coat all sides. Allow excess caramel to drip off and place the coated apple on the prepared baking sheet. Repeat for remaining apples.
(Optional) Before the caramel sets, roll the apples in chopped nuts, toffee pieces, or drizzle with melted chocolate.